You’re My One in a Zion
Zion National Park is magnificent. If you haven’t been, you need to get on it. To demonstrate, you can hike in a cooling river and on a trail along a narrow cliff with steep drops on the same day. With all the hype, I compiled my list of the 8 best hikes in Zion National Park.
I first heard about Zion when I moved to San Diego. Tons of hikers were talking about the Narrows. As a result, I became intrigued by this trail on the river and needed to know more. My fomo kicked in hard, and I enthusiastically convinced 11 others to join me for my first trip there. 9 of them are my family, 1 is a good friend, and the other is my now-husband. I’ve gleefully returned to Zion a few more times since that initial visit. Seeing these trails, especially the Narrows, is like visiting a dear old friend. I actually do feel myself becoming a little verklempt at the sight of these trails.
What is Zion National Park?
Zion is Utah’s first National Park! The park attracts more than 4 million visitors a year. The park is renowned for its red rock formations and pink sandstone mountains that tower over you when viewed from the canyon below. The Virgin River carved out the canyon and park over millions of years. To that end, the entire park is a remarkable sight. In the late 1800s, Mormon pioneers arrived and named the area “Zion”. Zion is Hebrew to encompass paradise on earth. Without a doubt, Zion is Utah’s most visited National Park and home to the endangered California Condor. The California Condor is the largest flying bird in North America. Impressive, right?
Helpful Tips to Enjoy the Best Hikes in Zion:
- Above all, you MUST check the park’s website for updates on transportation, trail closures, and weather warnings. The website will be the best source to hear about dangerous weather, like flash floods. Zion’s weather is everchanging. Therefore, you have to be prepared for changes to your itinerary. The Park Rangers are super helpful in giving you alternatives if things change.
- Shuttle Service
- Zion operates via a free shuttle. There are several pick-ups and drop-offs at designated locations. During busy seasons, you can expect a long wait for the shuttle. I heard shuttle wait times can take around 2 hours.
- Wait times tend to be shorter if you go early and stay late.
- All things considered, the shuttles get tight- you may have to split up your group. I strongly suggest communicating with your group to determine your next meeting point. Not everyone may be able to fit in the same shuttle. Do not rely on cell signal at the park. I’ve always struggled to get good cell service here.
- If you want to walk a little back to the Visitor Center, there is a trailhead on an easy paved path that follows the Virgin River. Check your trail maps to see where it starts.
- Make sure you have plenty of water.
- It gets ferociously hot in the summer. Temps can reach up to around 100F/38C! By all means, bring more water than you think you’ll need. It’s better to carry extra water than it is to be dehydrated.
- Use your sunscreen!
- Nothing ruins a beautiful day of hiking like achy sunburns. There are not a lot of opportunities for shade on these trails. If shade is limited, then you will burn. Use that sunscreen. Sweating means you’re sweating off that sunscreen. Don’t forget to reapply.
Zion National Park: Let’s Go on a Hiking Adventure!
Below is my list of the 8 best hikes in Zion National Park. I organized them by skill level and length of the hike. Zion is undoubtedly one of the best national parks we have. The key to enjoying your trip is being prepared for your hikes.
Taking it Nice and Easy: 3 of the Best and Easy Hikes in Zion
Trails don’t have to be hard to be fun. These are some of the best short and easy hikes at Zion National Parks. These hikes are easy because they do not have much of an incline to go up or down, and these trails are not technical.
- Lower & Upper Emerald Pool Trails
- Lower- 1.2 miles
- Upper- 1 mile
- These trails lead you to a beautiful oasis, but it is crowded during peak seasons. Since the Pools Trails are an easy route, these Pools are naturally the most popular spots. We hiked both of these soon after finishing Angels Landing. The pools are a beautiful sight, especially during hot weather.
- The Grotto Trail & Kayenta Trail
- 1 mile
- At this point, you can combine Grotto Trail & Kayenta with the Lower Emerald Pool Trail to create a lovely 5-mile loop. I highly recommend doing this add-on. I know I enjoyed it.
- Riverside Walk
- 2 miles out and back
- This is a paved trail that leads to the Narrows Trailhead entrance. You don’t have to hike the Narrows, but I recommend getting to the start of the trailhead to see some of it this lovely river.
- The end of the Riverside Walk is a favored spot for people to rest and enjoy the cool water.
A Little Bit Harder Now: The 3 best moderate hikes in Zion
These are some of the best moderate hikes at Zion National Park. These moderate hikes are longer than the easier ones listed above. The trails are moderate because they involve some elevation gain.
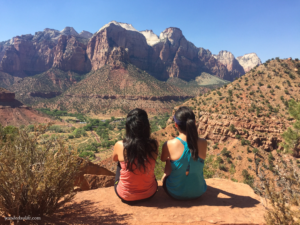
- Watchman Trail
- 3 miles loop trail with an elevation gain of 646 ft.
- The Watchman starts near the Visitor Center. This trail leads to a brilliant view of the Towers of the Virgin, Lower Zion Canyon, and the town of Springdale. This hike has very little shade, which is brutal with the summer heat. We hiked this trail in the afternoon after a morning in the Narrows. We were the only ones hiking this trail when we went.
- I especially love this hike because I completed this with my sister and a good friend. It was special to have this spot to ourselves.
- Hidden Canyon Trail
- 4 miles out and back trail with an elevation gain of 636 ft.
- When you start the trail for Observation Point, there’s a split on the trailhead. You can go left to Observation Point or right to Hidden Canyon. Hidden Canyon follows the cliff face with a few narrow sections and chains provided for stability.
- We did this hike right after Observation Point. It wasn’t busy or crowded when we went in the late afternoon.
- If you’re particularly weary of heights, take caution on this hike. A friend I went with felt nervous on the narrow and steep sections, and we had to stop for breaks so she would stay safe. Ultimately, she was too shaky to finish it. Based on this situation, we decided not to hike Angels Landing that day.
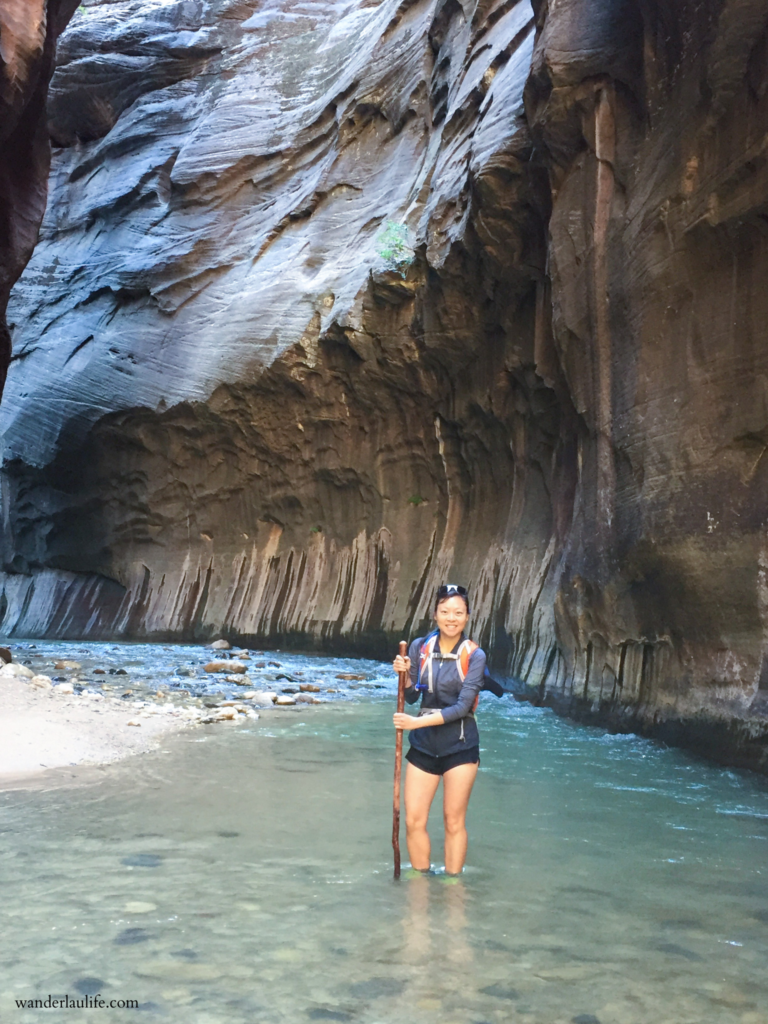
- The Narrows
- This famous out-and-back Zion hike can be as long or short as you would like. Once you get to the trailhead, you’ll see a good crowd hangs out around the trailhead to play in the river. The total hike is about 9.4 miles long. As always, the further you walk, the quieter the trail becomes. The Narrows starts and ends at the Riverside Walk Trailhead. At the end of the Narrows, there are signs to indicate the turnaround point. Permits are required if you want to hike further. You have to apply for these permits in advance.
- This trail may close due to weather conditions, such as flash floods. Check with the visitor center and/or the website for up-to-date information. The visitor center is right by the park entrance, where you have to stand in line for the shuttle.
Renting Gear for the Narrows
- Renting gear for The Narrows is optional. We rented water hiking boots and wooden hiking sticks. The sticks were helpful for stability and determining the height of the water as we were hiking. You can also rent water overalls to help keep you warm on colder days. Some people choose to trek the Narrows in their regular shoes or their sandals. I liked having the water boots and the stick. I didn’t want to ruin my good hiking boots and some sections were pretty slick. I also recommend protecting your electronics and snacks with waterproof bags. We happened to go during a particularly high-water season, so there were a few sections where we were practically swimming. Even if it’s not a high-water time, you never know if you’ll lose your balance and slip, resulting in wet bags and equipment. Nobody likes soggy snacks.
- If you’re interested in renting gear or if you want to look into it, we rented our equipment from Zion Outfitter. The store is located right outside the National Park entrance. Feel free to reach out if you have more questions about this! As soon as they opened, we grabbed our shoes and hiking sticks and went directly to the park shuttles.
Strenuous, Be Prepared Hikes
These hikes are challenging compared to all of the trails listed above. The routes are strenuous because they are longer and the elevation gain is steep. Be prepared for long climbs, bring plenty of water, and take your time.

- Angels Landing
- 4 miles out and back with an elevation gain of 1,630 ft.
- 4 miles sounds short, but this is a lot of elevation to hike up. The trail will take you up through a variety of switchbacks. The last section is along a narrow ridge with chains to the summit. Refrain from looking down- there are some steep drop-offs. This section makes Angels Landing so attractive.
- Angels Landing is a laborious hike… especially on a hot summer day. I recommend starting early and taking your time, especially when you get to the slim sections. Don’t let the people around you pressure you into moving at a pace where you feel unsafe.
- There is an initial chain section followed by a break area before you hit the famous section with the steep drops. This is the viewpoint of the entire Angels Landing Chain Trail. This is a great spot to take a break if you were intimidated by the initial chains. A handful in our group decided to sit and wait here instead of moving forward. Once you start the main chain section, there’s no good spot to stop until you get to the top.
- The park now implements a permit program. It is mandatory to get a permit to hike Angels Landing. Permits are distributed via a lottery system. Info can be found on the NPS website:
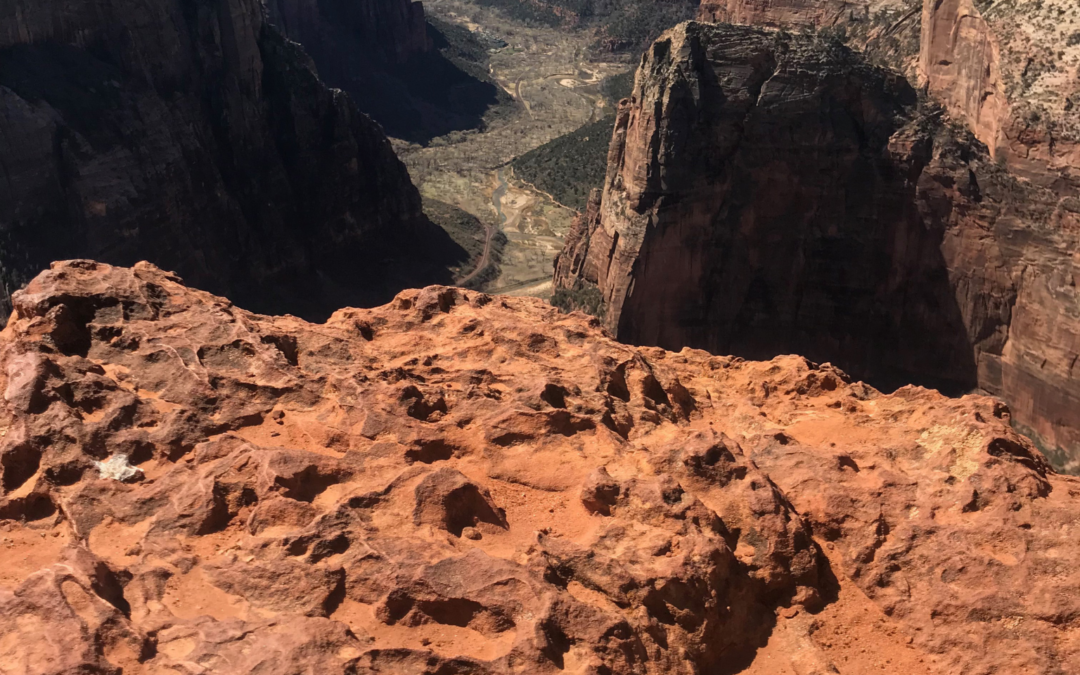
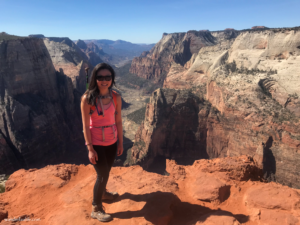
- Observation Point
- 8 miles out and back with an elevation gain of 2,788 ft.
- The elevation gain is no joke. Nonetheless, the hike up rewards you with stunning viewpoints of Zion Canyon. At the top, you will get a great view of Angel’s Landing, and you can even see the hikers climbing up the chains from the distance. I love the views of the entire park from the top of Observation Point. Be prepared for no shade on this trail, and pack plenty of water. The climb to the top may be challenging, but the reward is worth it.
- You can take your time at the top. There’s plenty of room to relax and enjoy snacks and a well-deserved break. Don’t forget if you pack it in, then you have to pack it out.
Enjoy the Best Hikes in Zion!
Most importantly, enjoy the park! Zion is a natural wonder. I adore returning to this gem. It may be hot and crowded, but it is truly a special place. Use this guide of the 8 best trails to help organize how you want to spend your days. Happy trails, have fun!
Like What You’re Reading?
Here are some other posts that may interest you:
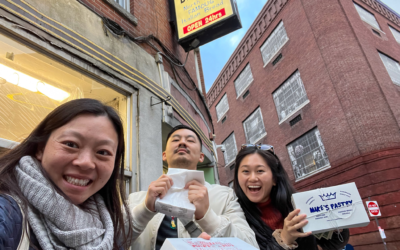
The Best Cannoli in Boston
I went to Boston on a Cousin’s Trip. Our main goal was to eat our way around the city. That included finding the best cannoli in Boston!
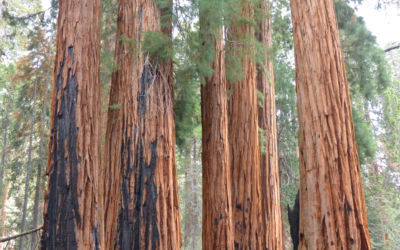
How to Spend 4 Days in Sequoia & Kings Canyon National Park
A helpful and concise travel guide on how to spend your time at Sequoia National Park & Kings Canyon National Park. Whether you plan to spend one day or four days, there is plenty of useful information to assist you in planning your trip to these National Parks.

How to Spend a Weekend in Austin, Texas
My easy travel guide to a weekend in Austin, Texas. Where to find the best sights, eat delicious food, and where to get the BEST barbecue.

The Best Travel Guide to Enjoy a Walkable Seattle
A guide to enjoying a walkable Seattle. There is so much to see and do around Seattle, Washington and you don’t need to rent car.
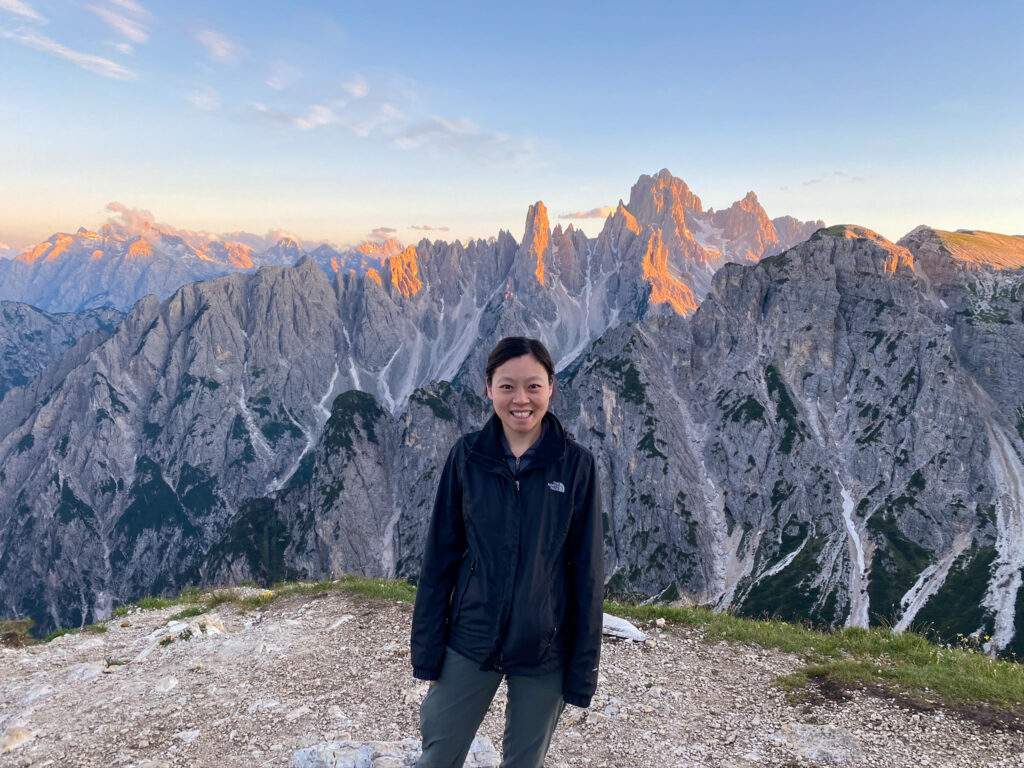
 I’m Cindy, an ordinary girl with a lot of energy, a big drive for adventure, and a major case of fomo. I’m passionate about exploring everywhere and anywhere, eating really yummy food, and helping others enjoy their travels.
It gratifies me to share my lessons and to relive my excursions. I want everyone to find their joys in traveling and day trips. Join me as I journal my travels- old and new, near and far. I’ll leave tips and tricks I’ve learned along the way. I hope you find this valuable!
- Cindy
I’m Cindy, an ordinary girl with a lot of energy, a big drive for adventure, and a major case of fomo. I’m passionate about exploring everywhere and anywhere, eating really yummy food, and helping others enjoy their travels.
It gratifies me to share my lessons and to relive my excursions. I want everyone to find their joys in traveling and day trips. Join me as I journal my travels- old and new, near and far. I’ll leave tips and tricks I’ve learned along the way. I hope you find this valuable!
- Cindy